今回は Visual Studio Code を使用したC言語の開発環境を作成する方法をご紹介します。環境は無償で作成することができます。
Visual Studio Codeのインストール
Visual Studio Codeは下記のサイトからインストールできます。
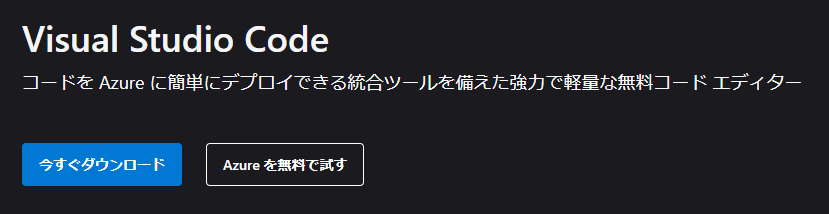
Visual Studio Code – コード エディター | Microsoft Azure
上記のサイトを開き、「今すぐダウンロード」をクリックします。
インストールするOSを選択して、インストーラをダウンロードします。

ダウンロードされたモジュールを開き、Visual Studio Codeをインストールします。
日本語の言語パックのインストール
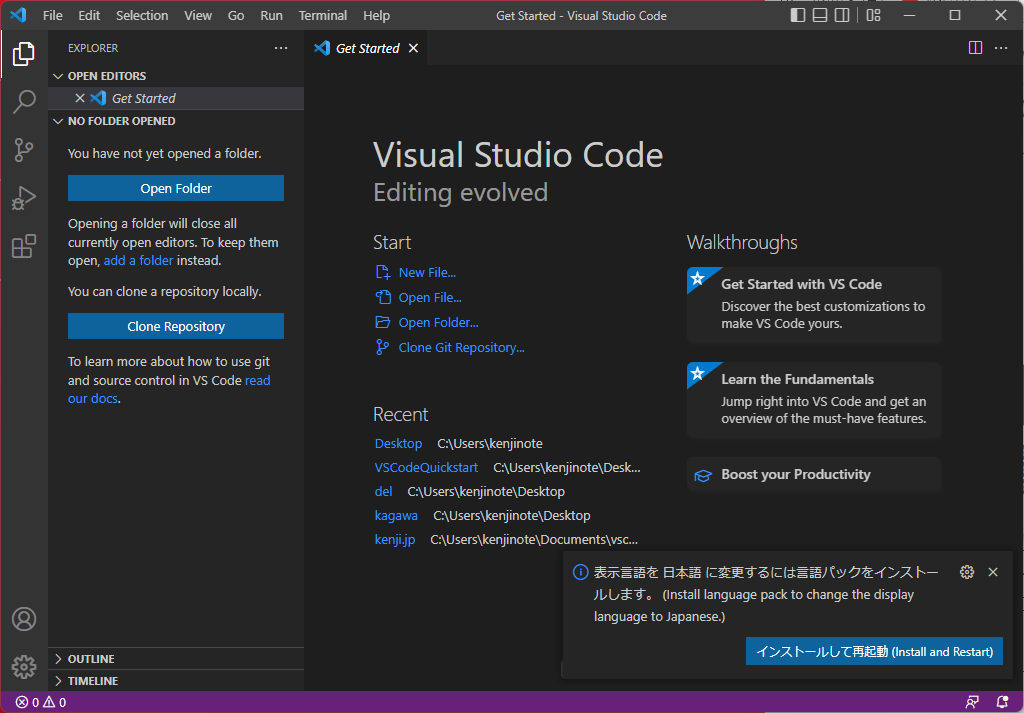
Visual Studio Codeは、初期状態ではメニューなどで表示されている言語は「英語」となるので、必須ではありませんが日本語の言語パックをインストールすることをお勧めします。
日本語OSの場合は、右下にポップアップで日本語の言語パックのインストール案内が表示されます。「インストールして再起動」ボタンをクリックしまします。
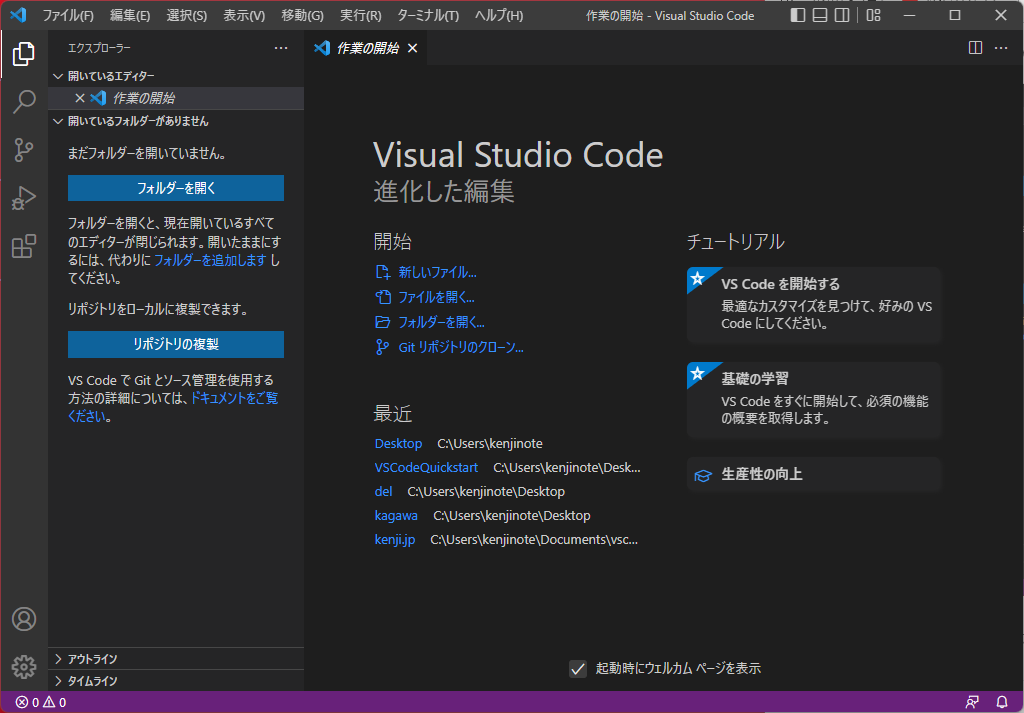
下記のように再起動されて表示言語が日本語となります。
C/C++拡張機能のインストール
Visual Studio Codeは様々な拡張機能があり、Visual Studio Codeの機能を拡張することができます。C言語をビルドして実行するには「C/C++」という拡張機能をインストールします。
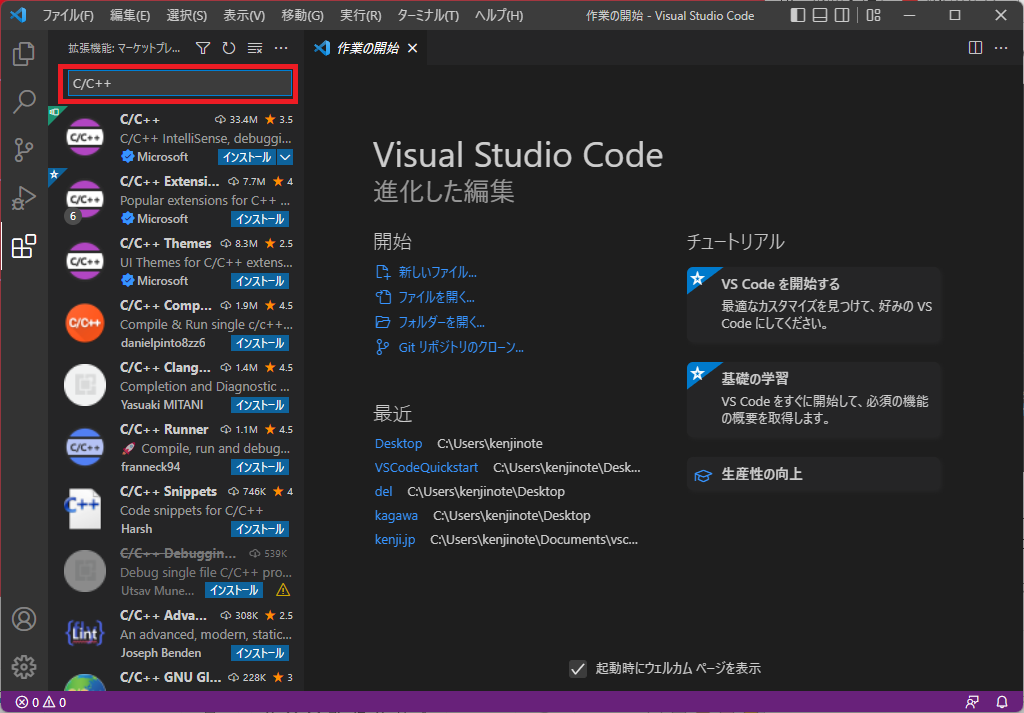
左ペインの拡張機能ボタンを選択します。
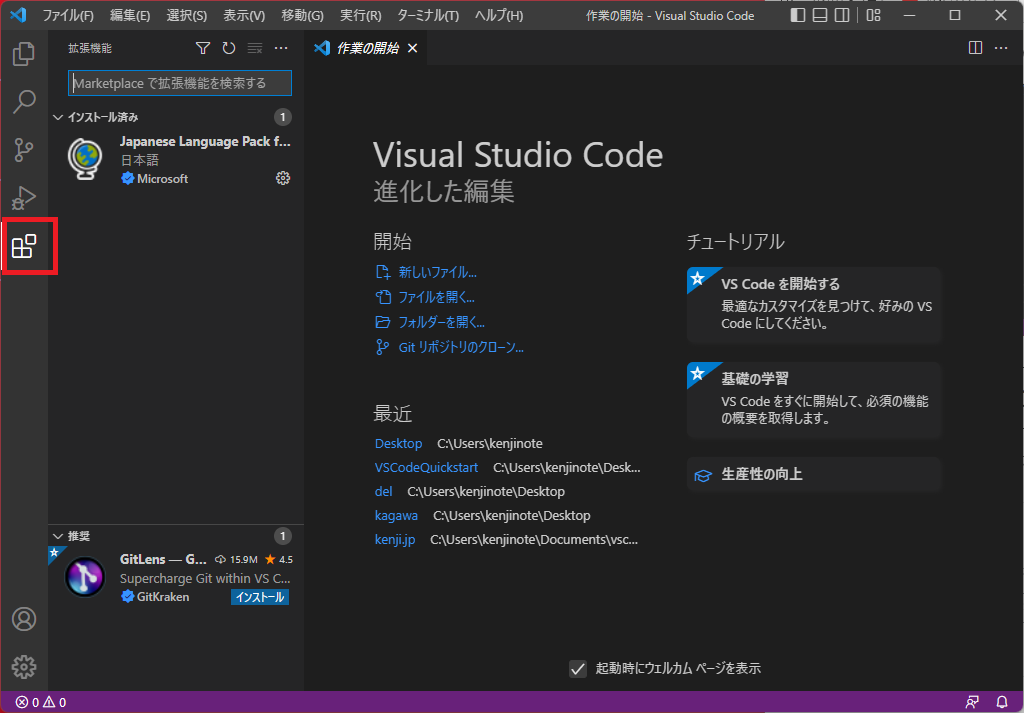
検索バーに「C/C++」と入力して、拡張機能を検索します。
「C/C++」の「インストール」をクリックします。
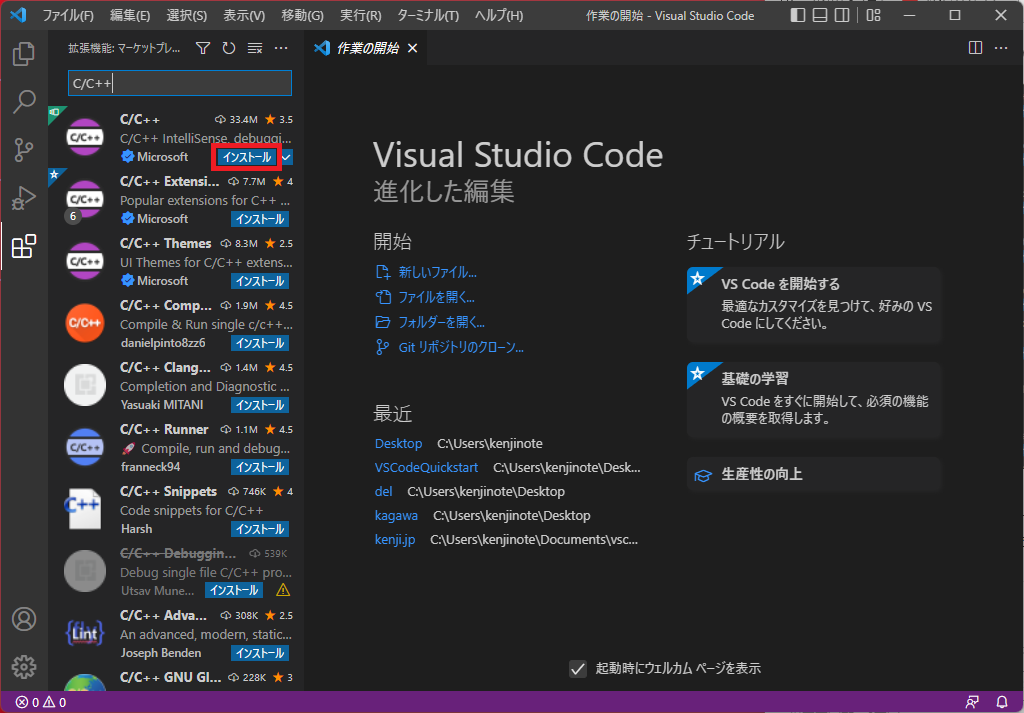
インストールが完了すると「インストール」ボタンが非表示となります。
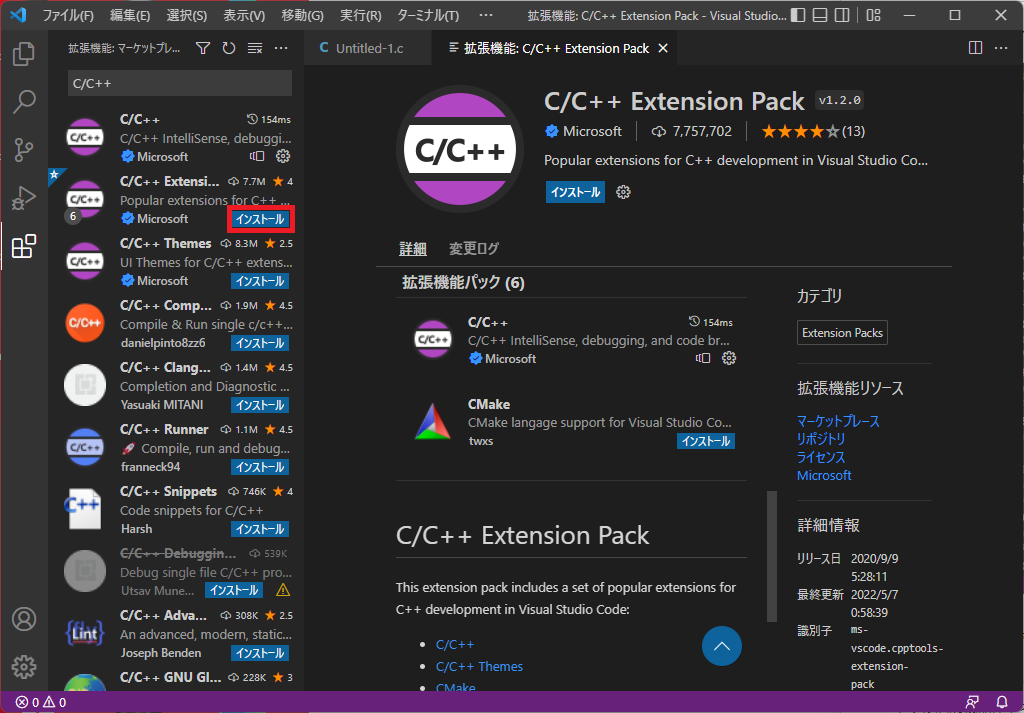
「C/C++ Extension Pack」という拡張機能もインストールしておきましょう。この拡張機能は、自動保管機能などC/C++を書く上で便利な機能がそろっています。
Build Tools for Visual Studio 2022のインストール
Microsoft製のC/C++のビルドツールをインストールします。
下記のサイトを開きます。
Visual Studio Tools のダウンロード - Windows、Mac、Linux 用の無料インストール (microsoft.com)
ページの下の方にある「すべてのダウンロード」の中の「Visual Studio 2022 用のツール」をクリックして展開します。
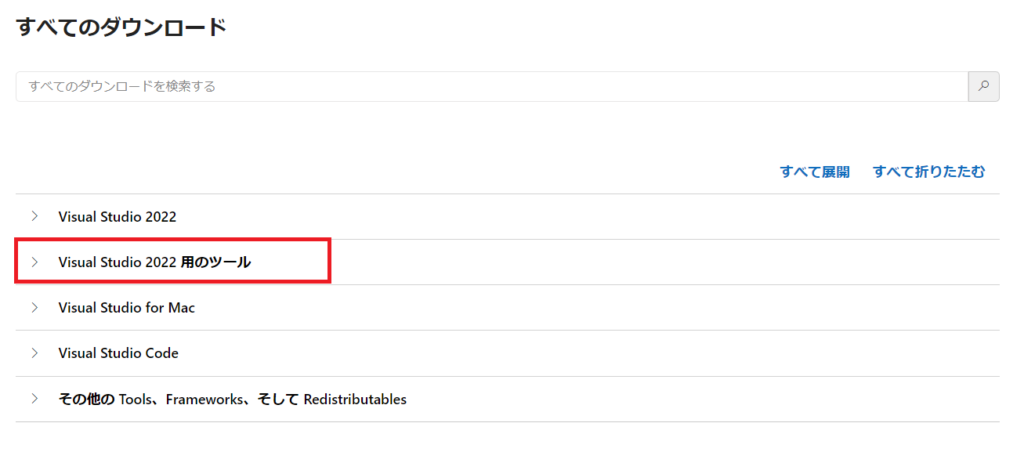
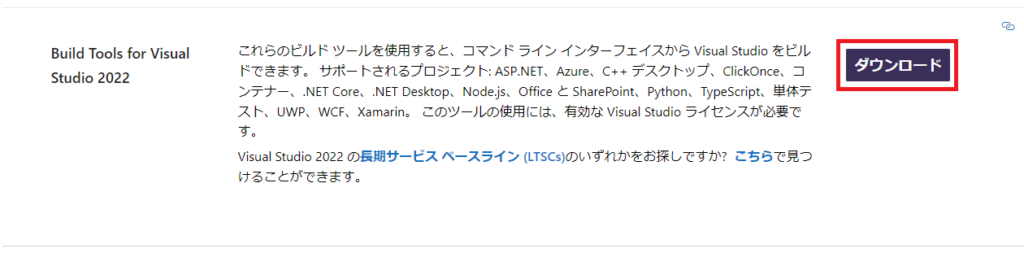
「Build Tools for Visual Studio 2022」の「ダウンロード」ボタンよりダウンロードします。
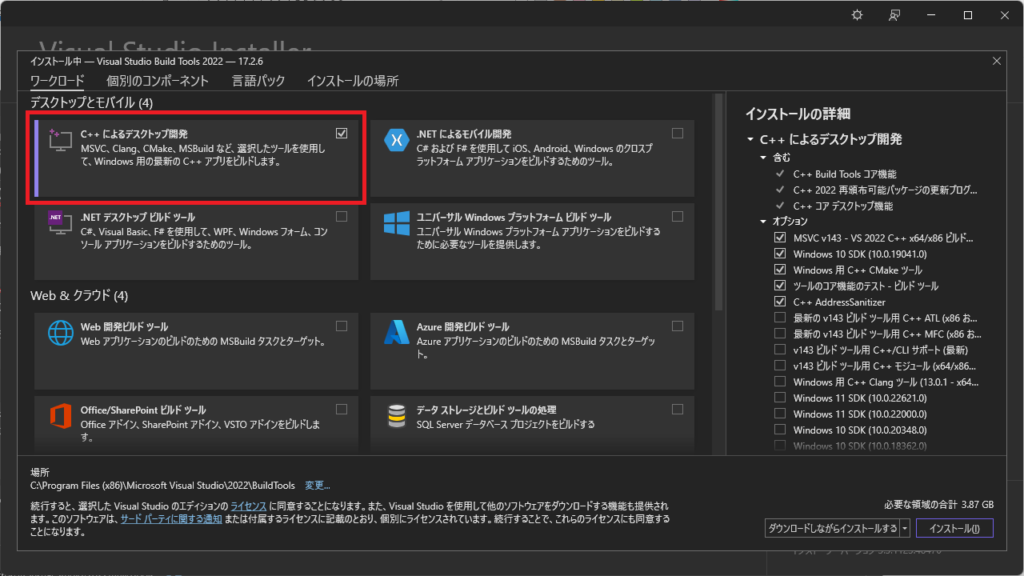
ダウンロードされたvs_BuildTools.exeを起動します。インストールを進めていくと、下記のようなインストールする項目の選択画面が表示されるので「C++ によるデスクトップ開発」を選択して、「インストール」ボタンをクリックします。
インストールが開始されます。
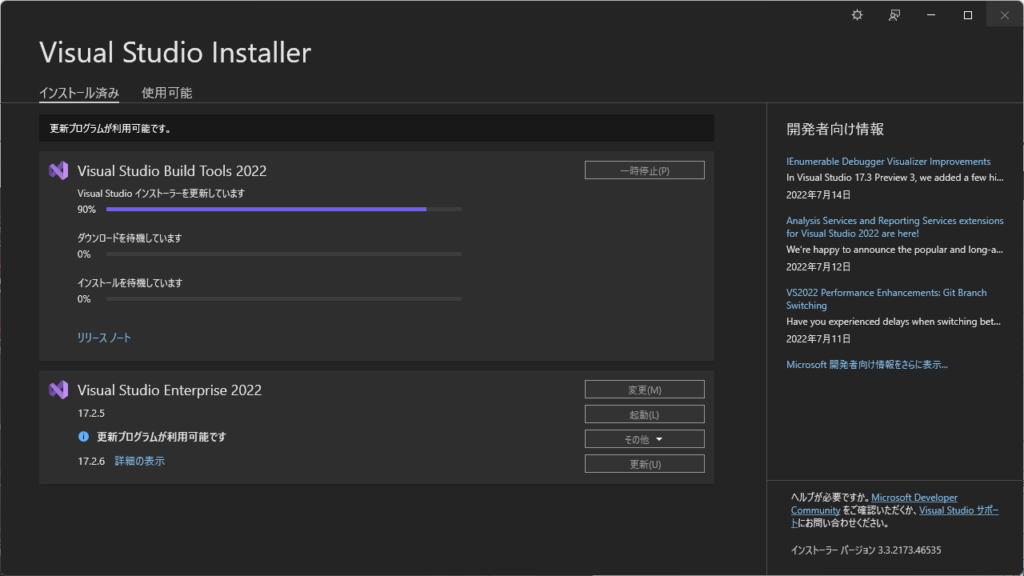
インストールが完了したら、Visual Studio Installerを閉じます。Visual Studio Codeを起動していたら一旦終了させます。
x64 Native Tools Command Prompt for VS 2022からVisual Stuido Codeを起動
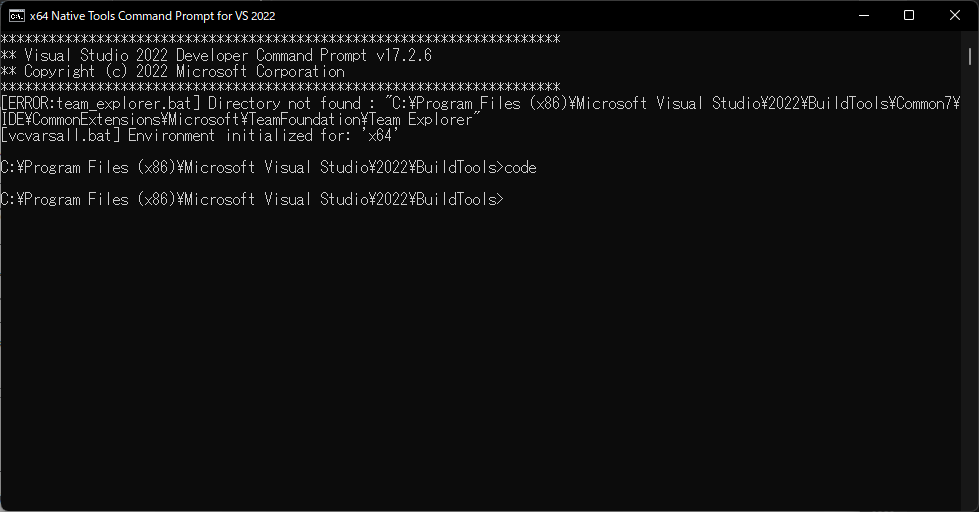
スタートメニューをから「Visual Studio 2022」>「Visual Studio Tools」の中の「x64 Native Tools Command Prompt for VS 2022」を探して起動します。
コマンドプロンプトが起動するので、「code」と入力してVisual Stuido Codeを起動します。
上記の方法でVisual Studio Codeを開くことで、Visual Studio Code上でC/C++のコンパイラが実行できるようになります。
作業フォルダーの作成
Visual Studio Codeは、作業フォルダーを指定して開発することが一般的です。デスクトップにフォルダー「work」フォルダーを作成して、そのフォルダーを開きます。(※作業フォルダーの場所や名前は別のものでも問題ありません)
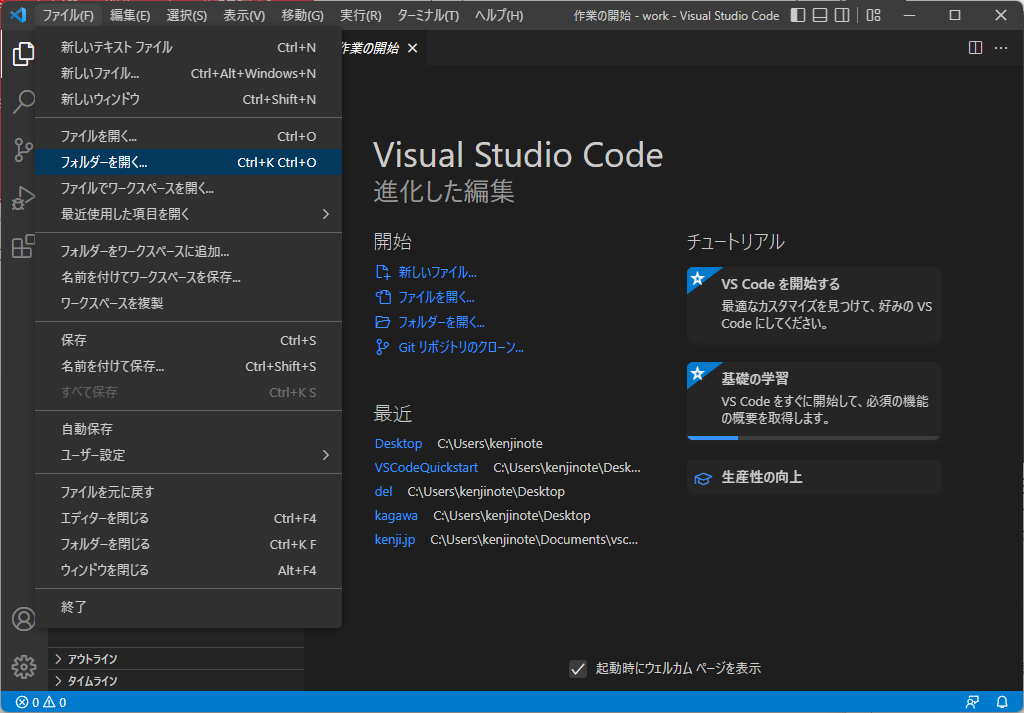
「ファイル」メニューを開き、「フォルダーを開く...」を選択して、フォルダーを指定します。
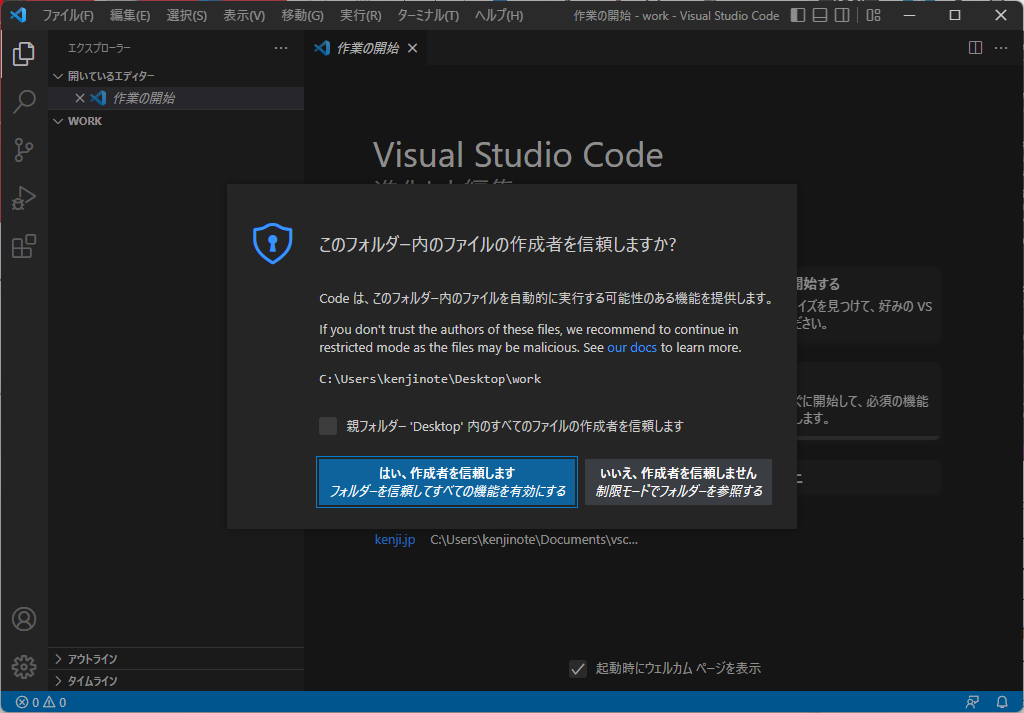
フォルダーを指定すると、下記のようなメッセージが表示されます。「はい、作成者を信頼します」をクリックします。(インターネット上からダウンロードされたフォルダーを指定する場合は、注意が必要です。)
次にファイルを作成します。
C言語ソースコードを記述
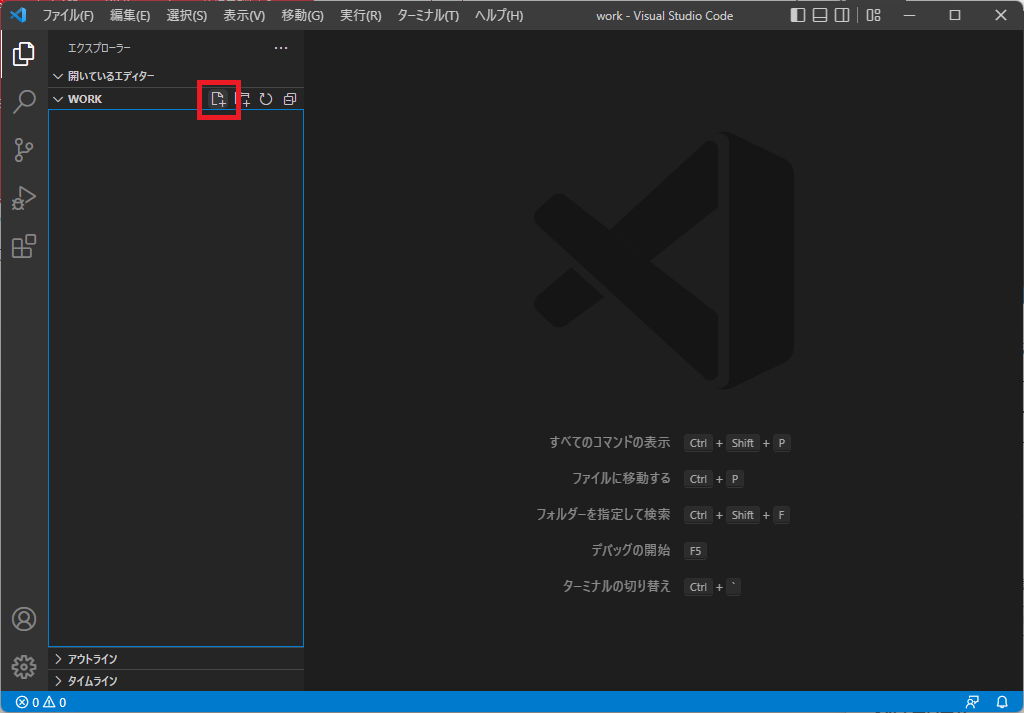
左ペインに指定した作業フォルダが表示されるので、その右側に表示されるファイル作成のアイコンをクリックします。
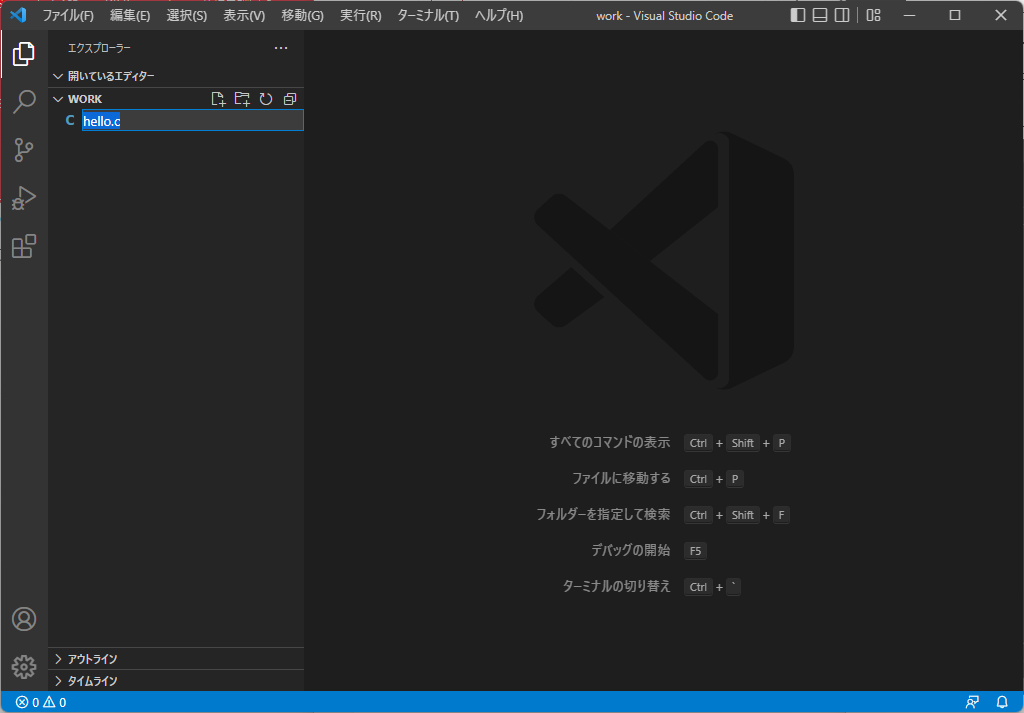
「hello.c」と入力してEnterキーを押します。
下記のソースをコピー&ペーストします。
#include <stdio.h>

int main()
{
   printf("hello, world!");
   return 0;
}
Ctrl + Sを押してファイルを保存します。
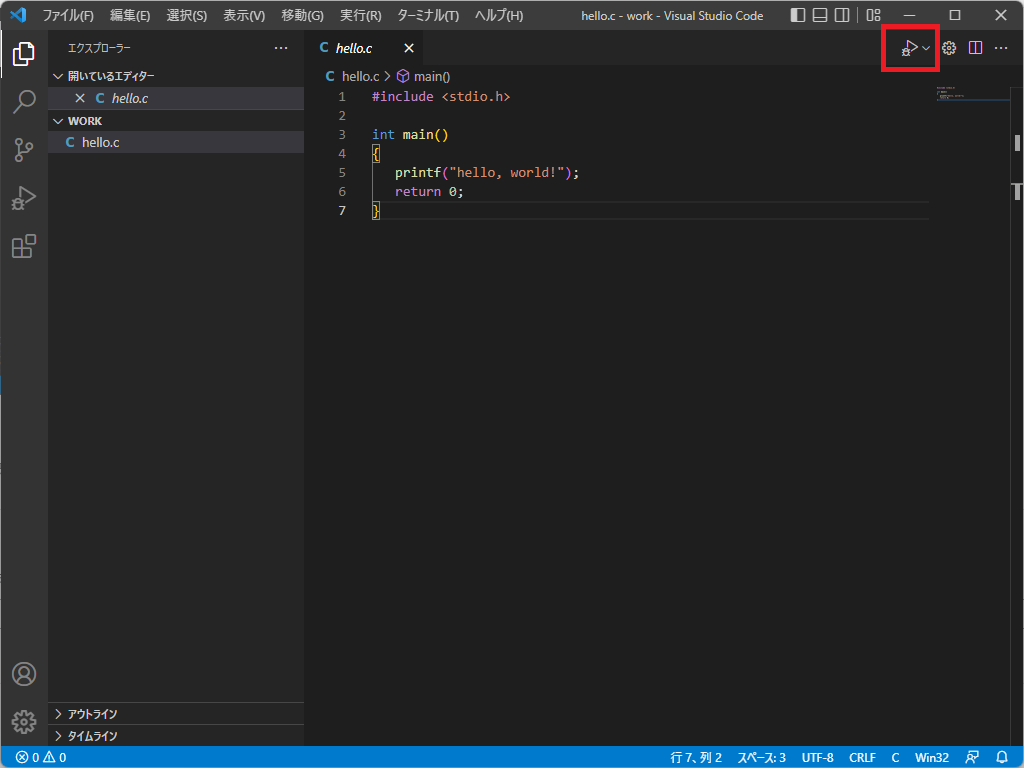
C言語ソースコードをビルド実行
右上の三角形のアイコンをクリックします。
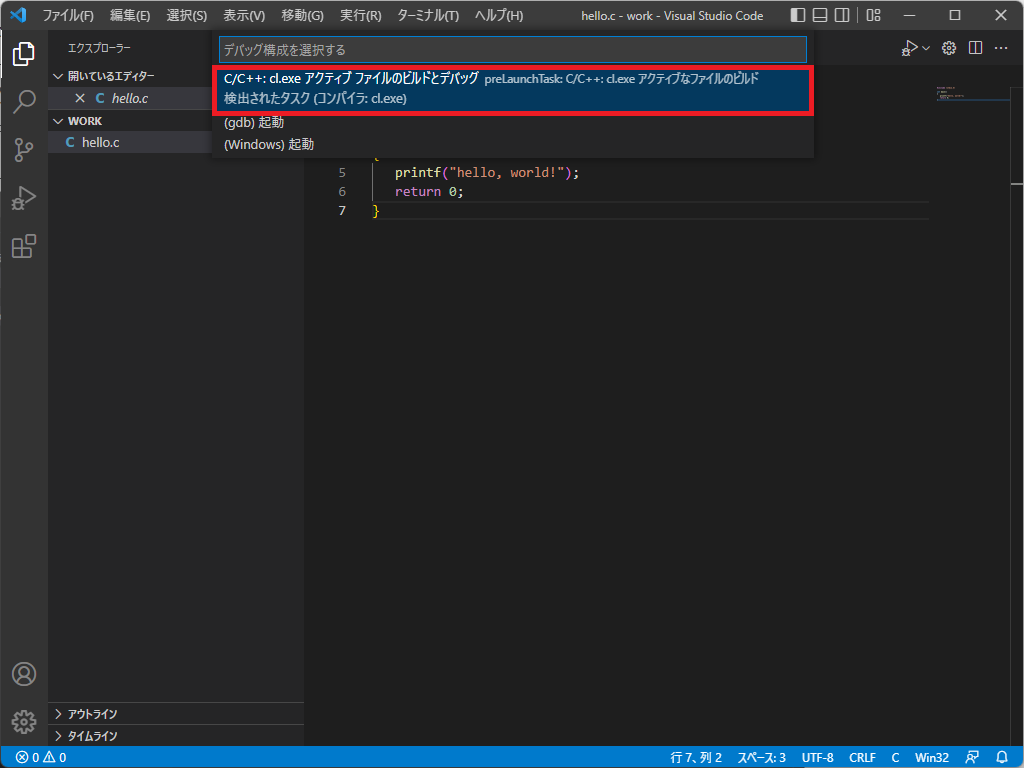
「C/C++: cl.exe アクティブ ファイルのビルドとデバッグ」を選択します。
ソースコードがビルドされ、コマンドプログラムが起動しプログラムが実行されます。
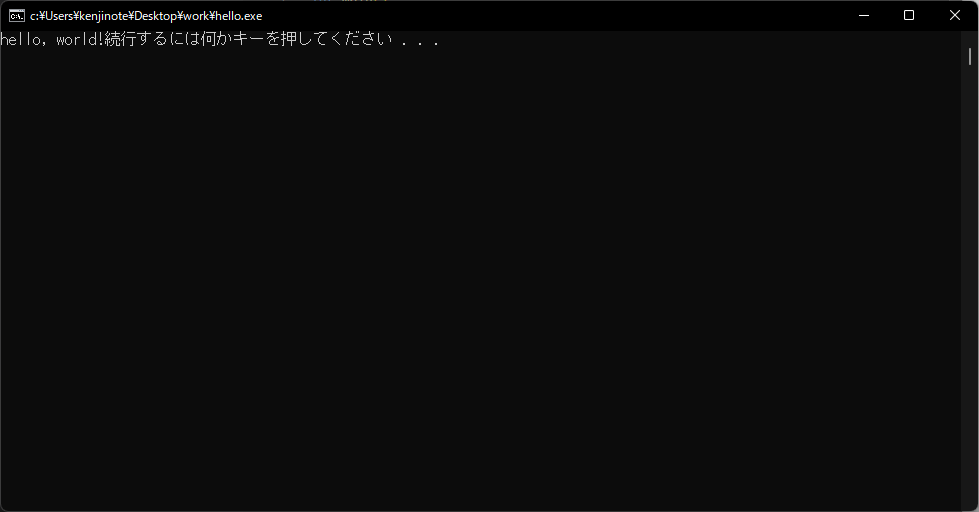
以上です。それでは良きC言語ライフを!
